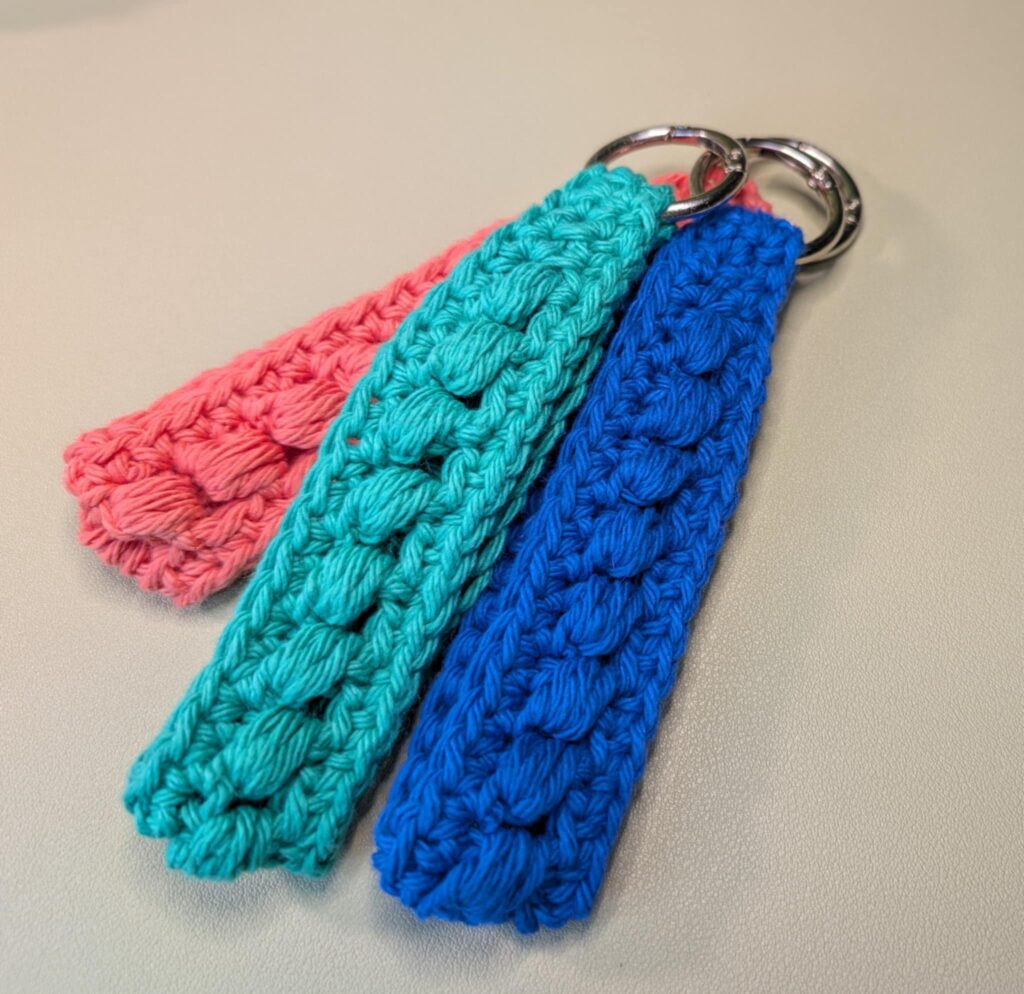
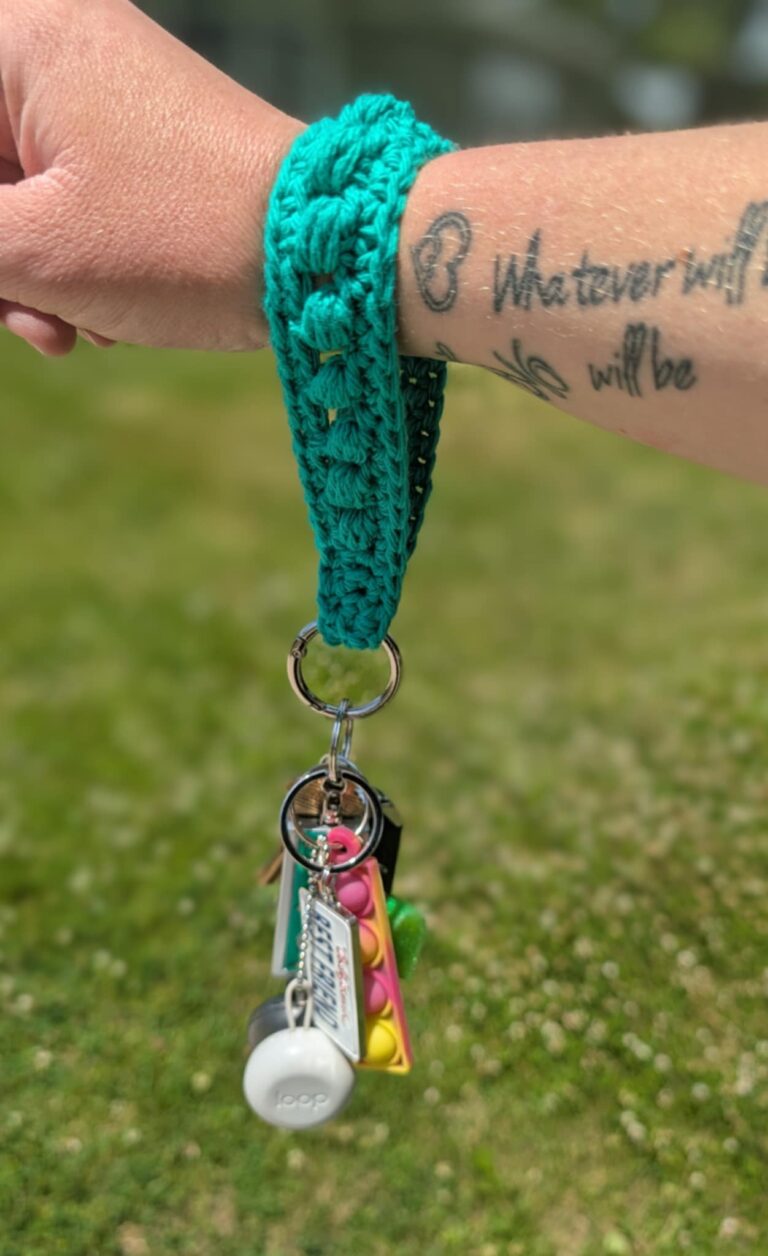
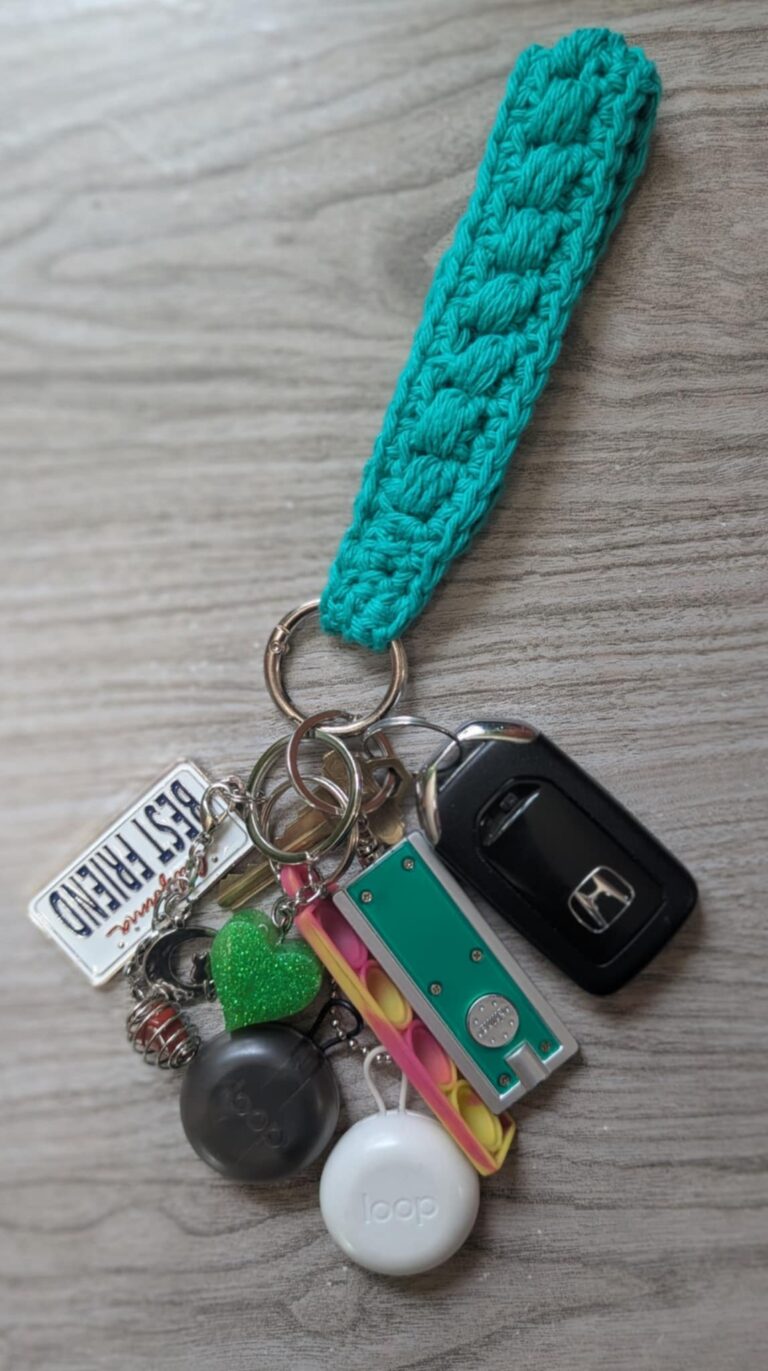
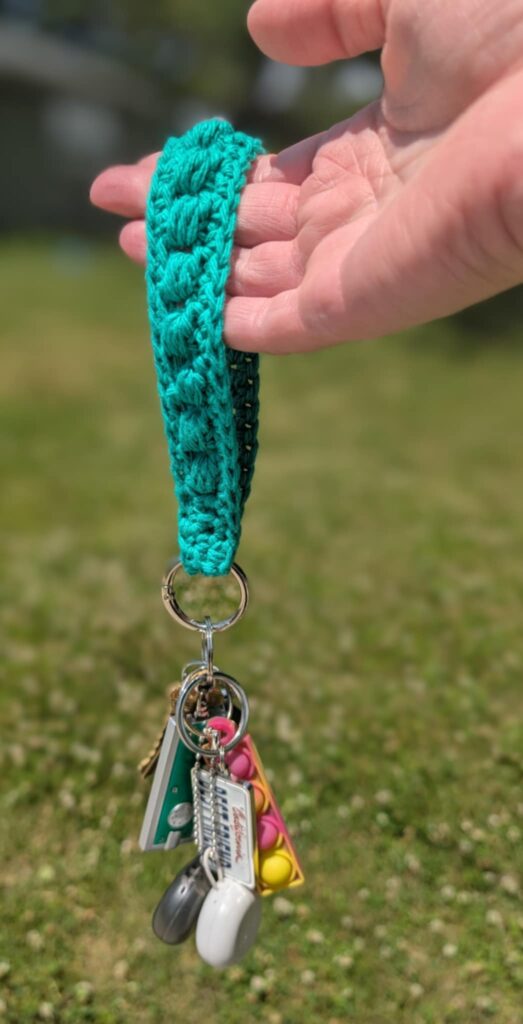
***If you are using a split keyring or a ring that doesn’t open, and not a carabiner, you would slip the ring onto the chain before you join it into a ring. If you are using a carabiner type ring that has more space to attach it, then you can add it after round 3 (before seaming).
Join with a sl st to the 1st ch to form a ring,
being careful not to twist ch.
Round 1: Ch 1 (counts as a st here and
throughout), working in the back loops of the
chain, sc in next ch and each ch around, sl st to beginning ch. -32 sc
Round 2: Ch 1, sc in next 2 sts, hdc in next
st, (dc in next st, bst around post of dc you
just made, skip 1 st) repeat 10 times, dc in
next st, bst around the post of dc you just
made, hdc in next st, sc in next 3 sts, sl st to
beginning ch. -32 sts; 6 sc + 2 hdc + 12 dc +
Round 3: Ch1, sc in next st and in each st
around, sl st to beginning ch. -32 sc
Finish off, leaving a 12″ tail for seaming.